I will be performing Auksalaq, A Climate Change Opera with the EcoSono Ensemble Nov. 7 2019 at 7:30pm at Miami University in Ohio’s Hall Auditorium. Click here for more information.
News
Resonance Fingerings
In my previous post, “How to Play with Beautiful Throat Tones”, I discussed how to improve the resonance and tone quality of throat tones. In this post I also outlined that throat tones have a weak tone quality because they only engage the top quarter of the clarinet with the rest of the lower tone holes open. Resonance fingerings are a great way to increase resonance and improve intonation by adding fingers on the lower three quarters of the clarinet. I often use these fingerings in slow lyrical passages. When playing fast resonance fingerings are less ideal because there often isn’t enough time to add extra fingers. The resonance fingerings below are effective, but should always be checked with a tuner and pitch drone to ensure they are in tune. Because each clarinetists setup is different, it is important to experiment with variations on these fingerings by adding or removing fingers for the best tone and intonation.


How to Play with Beautiful Throat Tones
Throat tones have the weakest tone quality and projection on the clarinet. While other registers are dark, focused, and project well, throat tones are often airy, unfocused, lack projection, and out of tune. This area of the clarinet range encompasses all the notes between E4 and Bflat 4.

Throat tones use the top quarter of the instrument (only the mouthpiece, barrel, and the top of the left hand piece) for the sound to resonate. Because only the top of the clarinet is being played, there isn’t the opportunity for the full tube to be engaged to focus the sound.
Our job as clarinetist is to match the tone quality across all registers. If close attention is not paid to matching tone, the clarinet can sound different in each register. Matching throat tones to the other registers is quite challenging. With these tips your throat tones will sound beautiful!
- The chalumeau is the easiest register to achieve good tone on the clarinet. I use the chalumeau as a model to match and compare throat tones. The best exercise is to play long tone octaves between the lowest chalumeau notes and throat tones.
- The bottom note should be held long and be mezzoforte, focused, and dark.
- Slur up an octave to the throat tone maintaining the same resonance and tone quality. This is best achieved by not changing the embouchure. Resist the urge to tighten the embouchure and pinch the reed. Tightening will limit resonance in the tone; we want to enhance all vibration because such a short section of the clarinet is being played.
- Maintaining an open throat (like yawning or saying “Ah”) will open up the sound. Be sure the tongue remains high like saying “Heeeee” and do not back off on air or air speed; fill the instrument with air through to the bell even though only the top of the clarinet is engaged.

Adding this exercise to your daily warm-up will improve your throat tones and tone quality in all registers.
Album Teaser
Here is a small section of John Mayer’s, Raga Music that I recorded for an album that will hopefully be released soon. More to come!
Learning to Embrace the Clarinet Squeak!!!
Squeaking is often a dreaded feature of playing the clarinet. The acoustics of the clarinet make it overblow at every other interval (the first partial is a 12th). Other wind instruments, like the flute, oboe, bassoon, and saxophone, overblow at regular intervals (the first partial is an octave). This feature creates the dark tone colour characteristic of the clarinet. This acoustic feature is also what makes the clarinet squeak. There is a lot of information that can be gained from a squeak. When approached with curiosity and an open mind squeaks can help to build control and refine clarinet playing.
There are three main reasons why clarinets squeak:
- Fingers not covering the holes. If your fingers don’t cover the holes completely, air can escape and disrupt the airstream inside of the clarinet emphasizing a high pitched partial.
- Moving the embouchure. Embouchure movement disrupts the consistency of reed vibration which can make the clarinet squeak.
- Moving the clarinet. Moving the clarinet also forces embouchure movement which disrupts the consistency of reed vibration.
These are the primary reasons the clarinet squeaks. Embouchure fatigue, water in tone holes, a warped reed, warped mouthpiece, and poorly sealing clarinet are also factors that can disrupt the airstream and cause a squeak.
While a squeak can be embarrassing, when practicing, a squeak can be used to refine control. If I squeak during a practice session I always try to replicate the squeak intentionally to determined why it happened. If I can replicate the squeak intentionally and determine its pitch I have a new sense of control and have learned a new note (this can especially be valuable for contemporary music). This approach is an effort to have complete control over the clarinet and bring legitimacy to an often less desirable aspect of playing clarinet.
The Secret to Successfully Beginning the Clarinet
It is important to provide students with a good foundation when starting the clarinet. This will ensure student success and enjoyment in the future. Throughout my teaching career I have started countless clarinet students and have learned that beginning students with the barrel and mouthpiece alone is a great way to ensure a good embouchure and tone. Playing with the barrel and mouthpiece eliminates the challenges of holding the clarinet, reading music, and knowing fingerings. Students are able to focus on the fundamental aspects of playing the clarinet: tone, air, and embouchure. Here are few tips for playing on the barrel and mouthpiece:
- The pitch the barrel and mouthpiece should produce is a concert F#. If students aren’t creating this pitch their embouchure and tongue position are likely not correct. For specifics about the clarinet embouchure read my post Embouchure Tips.
- Students should hold the barrel and mouthpiece with their fingers so that the bottom of the barrel isn’t covered, this will change the pitch. The angle should also be similar to when playing the full clarinet. I have found that students tend to hold the top two joints out like a cigar rather than down.
- The sound on the barrel and mouthpiece should be beautiful. I have students describe their sound and compare their tone to mine. It should be smooth, have no wiggles or bumps, be a concert F# pitch, and be consistent,
- I use the barrel and mouthpiece as a warm-up long after students have mastered their first notes on the clarinet. This exercise helps to set their air, tone, and embouchure before tackling notes and rhythms. When students move to the full clarinet, I remind them that playing the full instrument should be the exact same as with the barrel and mouthpiece. The embouchure, air, and tongue should remain the same.
- The barrel and mouthpiece is a good way to introduce tonguing as well. I often do repeat-after-me on the barrel and mouthpiece using rhythms in their music.
I have had a lot of success with this method of starting beginning clarinetists. I am never in a rush to stop having students play on the barrel and mouthpiece. At the Saint James Music Academy I would see students three times a week for groups lessons and we begun every lesson with the barrel and mouthpiece for a full year! The gains in tone, control, and speed of future progress make this an invaluable method for beginning clarinetists success.
New Research Shows High School Students Perform Better when they Study Music
Study Clarinet with Me!
I’m currently registering students for private clarinet lessons with for the Fall 2019. I offer completely personalized lessons tailored to each student. All students who are excited about playing clarinet are welcome regardless of age or skill! I provide lessons to students in Regina in-person and anywhere else over Skype.
Click here to visit my clarinet lessons websites for more information.
Free Public Lecture and Master Class with Clarinetist Cris Inguanti

Caring for your clarinet in Cold Temperatures
Since we are now in the depths of winter it important to take extra precautions to care for your clarinet. These tips will help you get through the winters months without cracks or too much trauma to the bore:
- Never play a cold clarinet. It’s imperative to warm up your clarinet before playing. If your instrument is cold to the touch, hold it in your hands or under your arms until it is warm. I find that touching the wood to my face is the best way to test to see if the wood is warm. We want to warm the outside of the instrument first before blowing warm are into the clarinet.
- Be sure to remove all water from your clarinet after play. Swab your clarinet regularly when playing and be sure to do a good clean at the end of your playing session. I find it helpful to look into the bore of the clarinet after swabbing just to be sure all the water is gone.
- Blow water out of the tone holes on the top joint. Use cleaning player or cigarette paper to take the water out from under pads under the trill keys and A and G sharp keys.
- Never leave your instrument in a cold space. Keep your clarinet in a room temperature environment. Avoid leaving your clarinet in the car or being outside for extended periods of time. This is also true for hot weather as well.
These tips should help you keep your clarinet in great working order over the winter. It’s best to see a repair person right away if you do notice a crack in the wood of your clarinet.
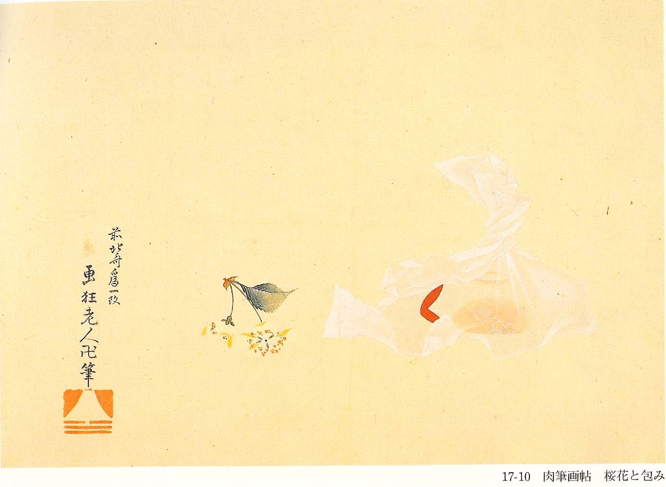
Cherry Blossom and a Wrapped Thing: after Hokusai
How Perfect Does Your Intonation Actually Have to Be?
Here is an interesting article about intonation, perception of intonation, and musicality.
https://bulletproofmusician.com/how-perfect-does-your-intonation-have-to-be/
Brahms Quintet
February 9th I will be performing the monumental Brahms Quintet Op. 115 with the fantastic Lafayette String Quartet! This performance will be at 8pm PST in the Phillip T. Young Recital Hall on the UVic Campus. Our performance will also be live-streamed here.
International Clarinet Association Conference
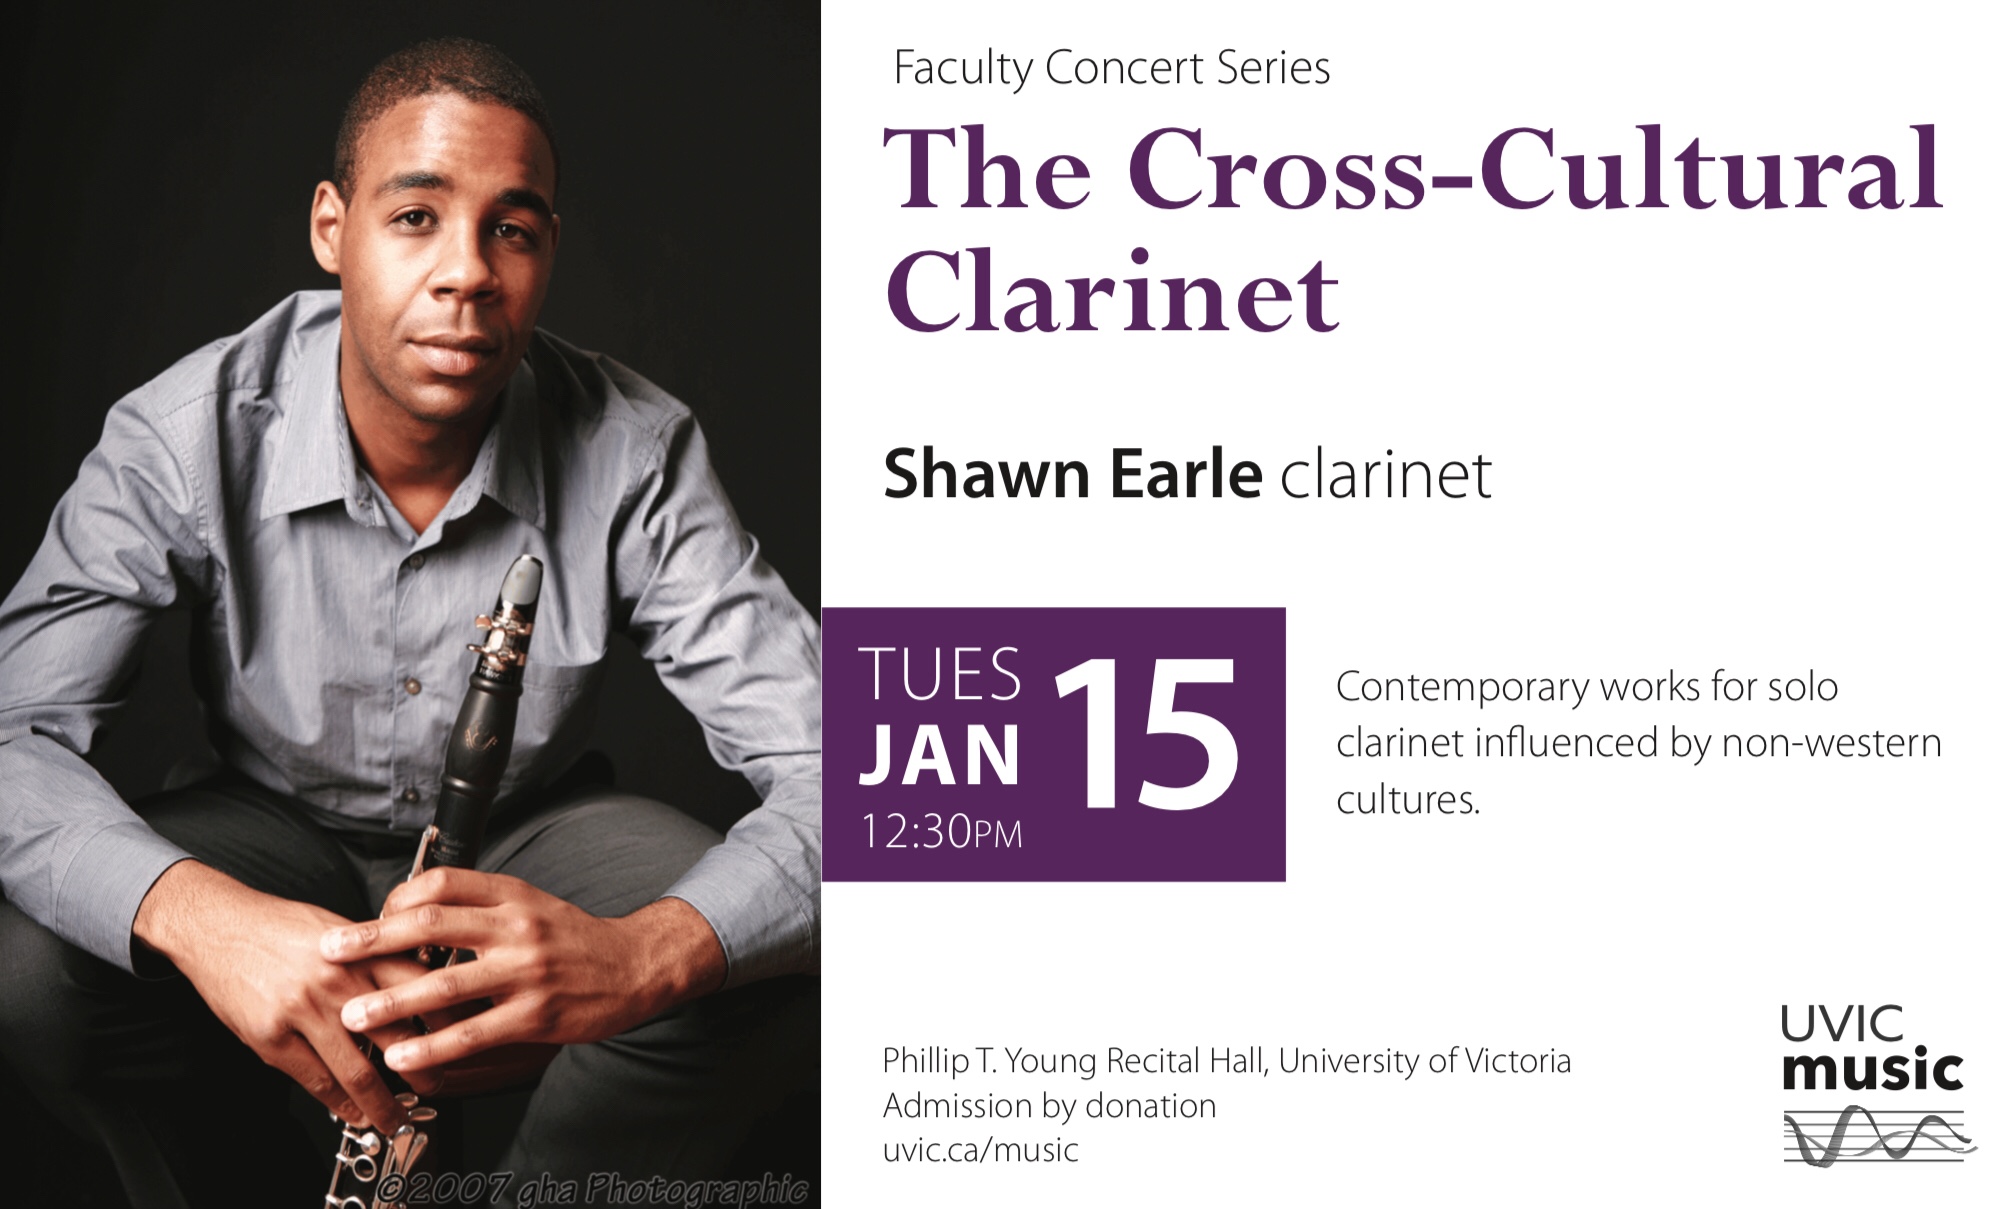
I have been invited to perform selections from “The Cross-Cultural Clarinet” program at this 2019 International Clarinet Association Conference in Knoxville, Tennessee. More information to come on the time and specific location!
Open Master Class Live Tweet
The UVic Open Master Class today was live tweeted by clarinetist Samuel He. Check out the pictures from today on my twitter. https://twitter.com/shearleclarinet
If you weren’t able to tune in live you can still listen online. https://finearts.uvic.ca/music//events/live/

